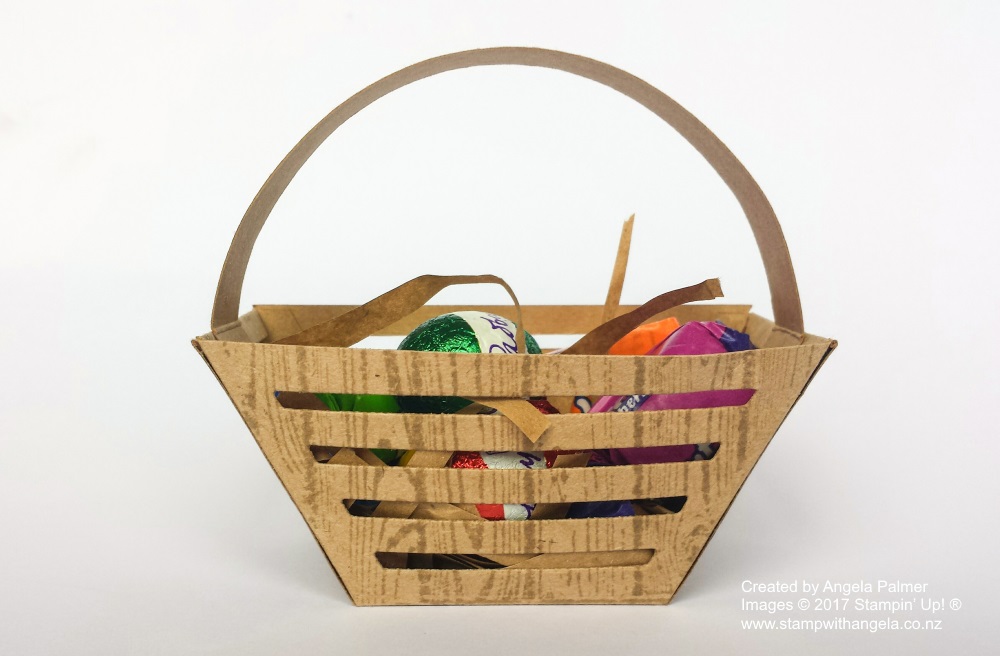
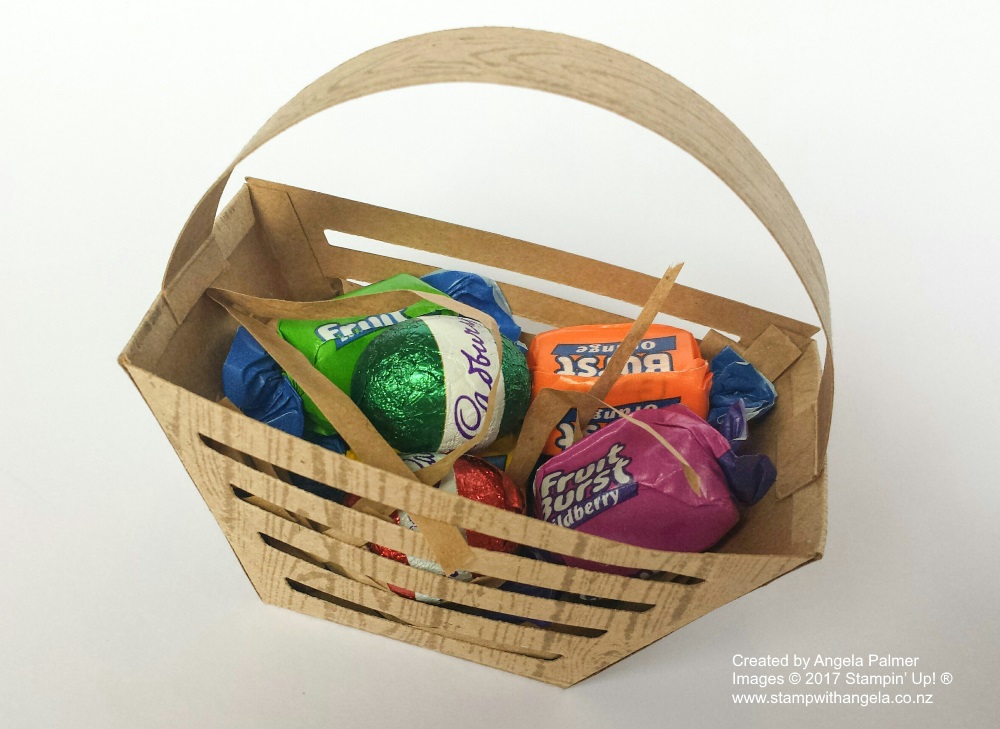
This Easter Basket is made using the Window Box Thinlits Dies. It was the table gift for my customers who came along to the Auckland Extravaganza event on Saturday. It is a project that I designed myself and I was quite pleased with it. I hope my customers were too.

I used the 12″ x 12″ Kraft cardstock which is a slightly heavier cardstock compared to the other standard coloured Stampin’ Up! cardstock. I thought it would be better to use stronger cardstock, especially as it has slits cut out on the front and back. Once I cut the window box die out and then stamped it with the Hardwood stamp to create more of a wood look. To make the basket, you only need one die cut piece, but you do need to later cut it in a special way, so that you can make the basket. The video below shows you how to do this.
After adding the handle, to finish the box off, I shredded some brown paper – I just cut it with scissors. I put this in the basket and added the treats on top.

There aren’t too many supplies needed to make this basket and it is fairly simple to make. Check out this video below showing you how to make it.
A video showing you how to make Easter Basket:
I would love to hear what you think of this basket. I am till fairly new to making videos so also feel free to leave any feedback or constructive criticism. If you enjoyed it, please subscribe to my You Tube Channel, Stamp with Angela.
Easter Basket Supplies:
Stamp sets: Hardwood
Cardstock/Paper: Kraft Cardstock (12″x 12″ sheets)
Other: Big Shot, Window Box Thinlits Dies, Stampin’ Trimmer, Bone Folder, Liquid Multipurpose Glue
If you would like to purchase the Window Box Thinlits Dies or any other Stampin’ Up! products, you can do so through my online store, or email me directly. Please also check out my Loyalty Programme. Feel free to contact me if you have any questions.
There are lots of amazing creations you can make with the Window Box Thinlits Dies. Check out my Extended Gift Box here. Thanks for visiting and have fun creating your Easter Basket!
