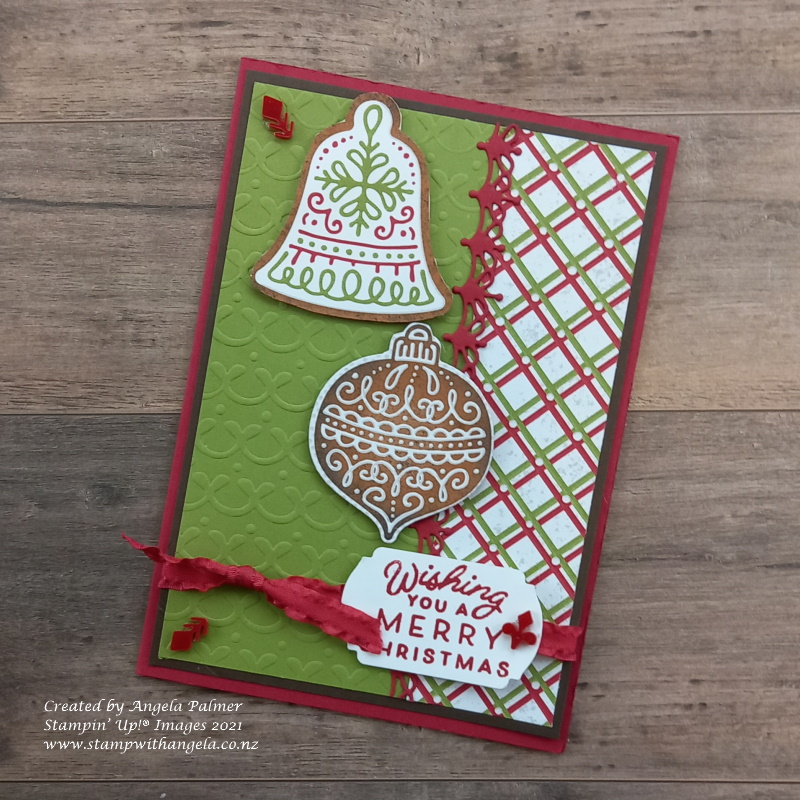
Today I will share how to dry emboss with the Decorative Masks. This technique allows you to create a textured background from the pattern of the Decorative Mask by using an Impressions Mat. This is part two of different ways to use a Decorative Mask.
The Old Olive cardstock below has a textured pattern on it which was created from a Decorative Mask.

To dry emboss with the Decorative Mask and your Stampin’ Cut & Emboss Machine, you need to put the plates, Decorative Mask, cardstock and mats in the following order:
Firstly put down the Base Plate (No. 1 plate), then on top of this put down the cutting plate (No. 3 plate). Next put the Decorative Mask on top of the cutting place. Carefully put the cardstock on top of the Decorative Mask, lining it up so the cardstock is straight. Carefully put the Impressions Mat on top of the cardstock without moving it. It is best to place the Impressions Mat closer to the top as it does tend to move down as it goes through the machine. Lastly put the Grey Plate (No. 4 plate) on top and then put it through your machine.
The sponginess of the Impressions Mat allows the cardstock to press into the Decorative Mask and imprints the pattern into the cardstock. This wouldn’t happen with a hard plastic plate.
Check out this video to see how to dry emboss with the Decorative Mask:
The Impressions Mat is in the Annual Catalogue, but not currently available for purchase. Keep an eye on it, as you will be able to order it in the future.
Last week I shared how to use the Decorative Mask with ink. If you missed seeing that, you can see it here.
Next week on my Thursday’s Tip, I will share another way to use the Decorative Masks. I hope you will come back and check that out.
