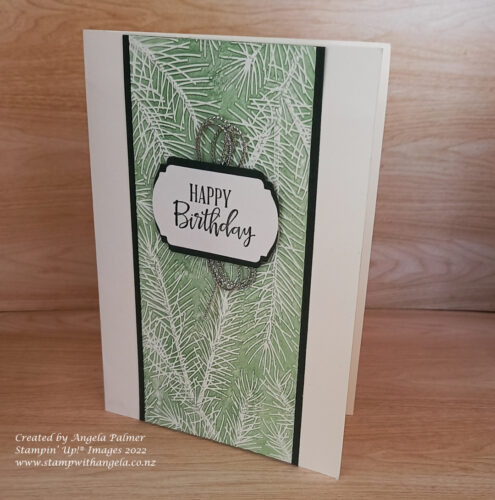
Inking an embossing folder is a great way to make the design of your embossing folder stand out even more!
Here is a card with the middle panel which has gone through the Wintry 3D embossing folder with Garden Green ink on it. The leaves stand out in white as the ink has gone into the other parts of the cardstock.

To make this card I inked the top inside of the Wintry 3D embossing folder with Garden Green ink. I used a Blending Brush to put ink on the inside of the embossing folder. You could also carefully swipe your ink pad over the inside of the embossing folder, but I find using a Blending Brush gives a more controlled layering of the ink. Once the ink was on the inside of the folder, I put a piece of Basic White cardstock in the folder and put it through my Mini Stampin’ Cut & Emboss Machine. The ink then transfers onto the cardstock making the embossed image more defined.
After you have put the cardstock through the inked embossing folder, there will still be some ink still left on it. The best way to clean it is to run the folder under the tap so the excess ink can run off. As it is a water based ink, it will easily come off the embossing folder and it won’t stain it. Either leave the folder to dry or dry it with a paper towel.
Check out this video to see how to ink the embossing folder:
Here are the supplies that I used.
If you would like to see some other tips that I have shared, you can check them out here.
Why not have a look and see what embossing folders you have and give this technique a try? Then you can see what effect inking an embossing folder creates.
