The Auckland Extravaganza event is an enjoyable afternoon of crafting that is held three times a year. We had one back in March, but I realised that I haven’t shared the projects yet. Today, I will share with you five wonderful cards that were taught at this event.
Seaside Bay Card:
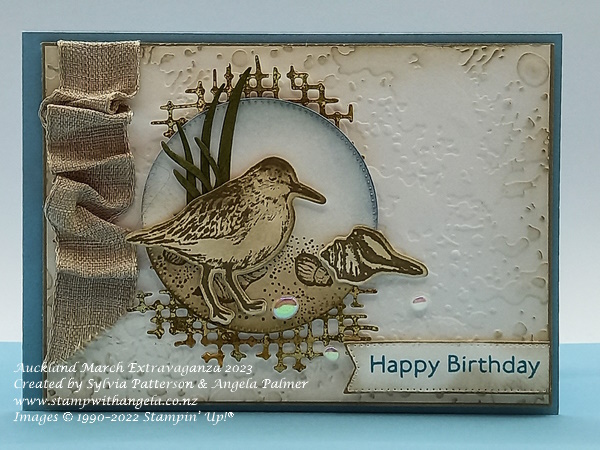
This first card was created and taught by Sylvia Patterson and me. It featured the Seaside Bay stamp set and dies. The background of the card was dry embossed with the Splatters embossing folder. The birds and shells were stamped and sponged. The gold piece in the background was cut from a piece of the Distressed Gold Paper. A piece of the Adhesive Backed Sheet was adhered to the back of it before it was die-cut with the die from the Chic dies set. This made it easier to adhere it to the card. The front of the card also had some Natural Finish Ribbon on the left which had been gathered together to give a type of ruched ribbon look.
Queen Bee Card:
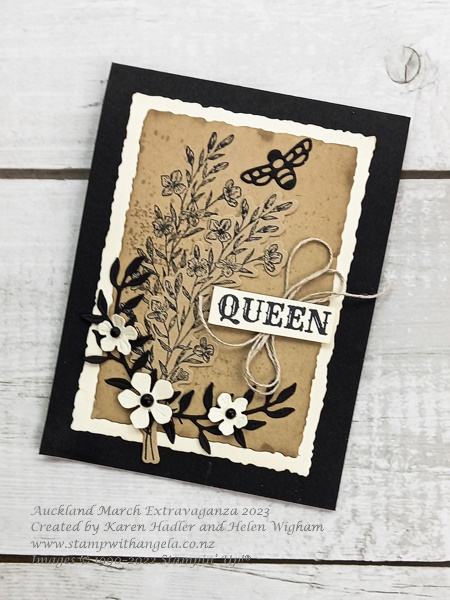
This second card was created and taught by Karen Hadler and Helen Wigham. It featured the Queen Bee stamp sets and coordinating dies. The stamp set is still available, but the dies have retired. The front of the card included some stamping, die-cutting, and heat embossing with Black Embossing Powder. The inside had a pop-up. The background of this pop-up piece had some Gilded Gold Flakes on it, which created a lovely contrast to the black.
Gingko Branch Card:
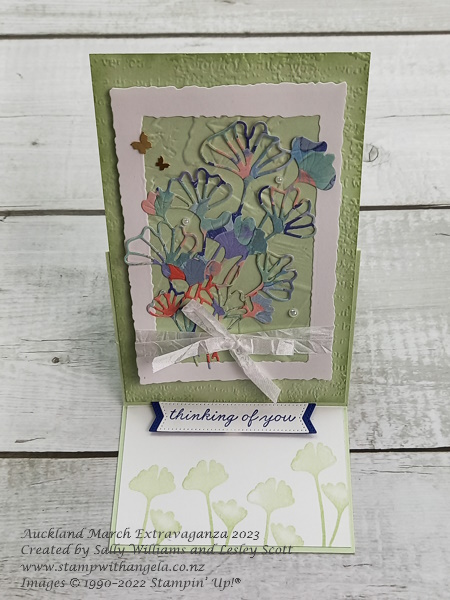
This third card was created and taught by Sally Williams and Lesley Scott. It was an easel card. It used the Gingko Branch bundle. The die-cut branches on the front were cut from the Fancy Flora Designer Series Paper. The Deckled Rectangles Dies were used to create a frame for the die-cut piece. The background was dry embossed with the Painted Texture and the Timeworn Type 3D embossing folders.
Friendly Gnomes Card:
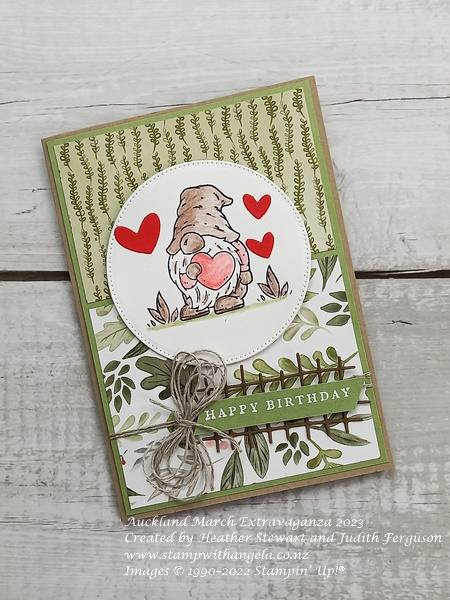
This fourth card was created and taught by Heather Stewart and Judith Ferguson. It featured the Friendly Gnomes stamp set. The gnome was coloured with the Watercolour Pencils and then gone over with a Blender Pen. The Blender Pen blends in the pencil lines and gives them a smoother finish. The paper in the background was the Happy Forest Friends Designer Series Paper. The circle has been cut from the Stylish Shapes dies and the die-cut piece behind the sentiment is from the Share a Milkshake dies.
Love Cats Slimline Card:
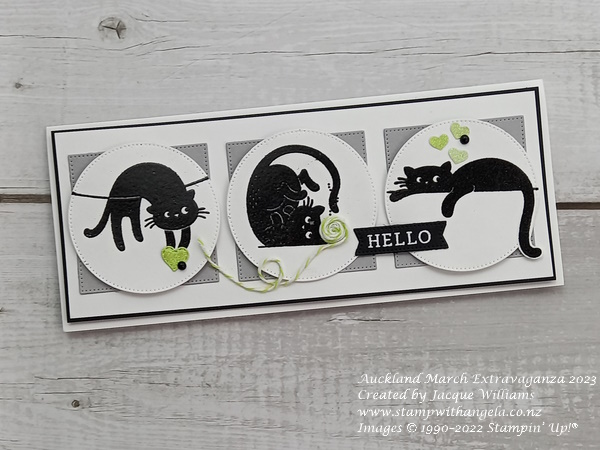
The final card was a slimline card which featured the Love Cats stamp set. It was created and taught by Jacque Williams. This card, like in the previous card, featured the Stylish Shapes dies. It not only used the circle die, but a square die too. The cats were heat embossed with Black Embossing Powder. There is also a technique with the cat in the circle on the right. The tail is over hanging from the circle. To do this, the cat’s tail was cut around first, then the cat image was cut out with the circle die, but with the tail placed on top of the die so it didn’t get cut off.
If you would like to make a wonderful range of cards like these and learn some new skills and techniques, you may like to consider coming along to our next Extravaganza. The next one will be in July. If you would like to attend an event like this, please let me know. We would love to have you come along. If you sign up to my mailing list, then you will be kept up to date with classes at my home and events like this too. When you join my mailing list, you will also receive exclusive tutorials, inspiration, and more.

Awesome, love the vintage look you created with the first three cards and the fun aspect of the last two.
I’m sure the attendee’s went home well satisfied with the their creations
Thanks. I am glad you liked them. Those that came to the event enjoyed making the cards.