For today’s tip I will be showing you how to ink embossing folders. In doing this it brings out the textured pattern more.
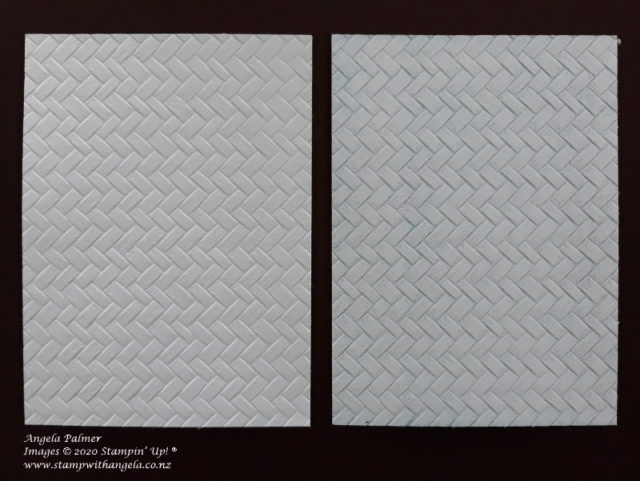
Check out the difference in the photo below:

The photo on the left is a piece of cardstock embossed normally. To achieve the result on the right, the embossing folder has been inked on the top half on the inside. This is done with a sponge brayer. Then the cardstock is put carefully into the embossing folder and put through a die cutting and embossing machine. The ink gets pushed into the grooves of the cardstock and therefore makes it stand out more.
Have you tried this technique before? If not, why not give it a go? If you would like to see how it is done, here is a video showing you what to do.
After you have finished with your embossing folder, just run it under a tap and let the excess ink run off. Dry it well if you are going to use it again with a different colour, or leave it to dry if you don’t need it for a while.
Product ListI hope you found this tip on how to ink embossing folders useful. I regularly share tips on Thursday. You can check more out here.


