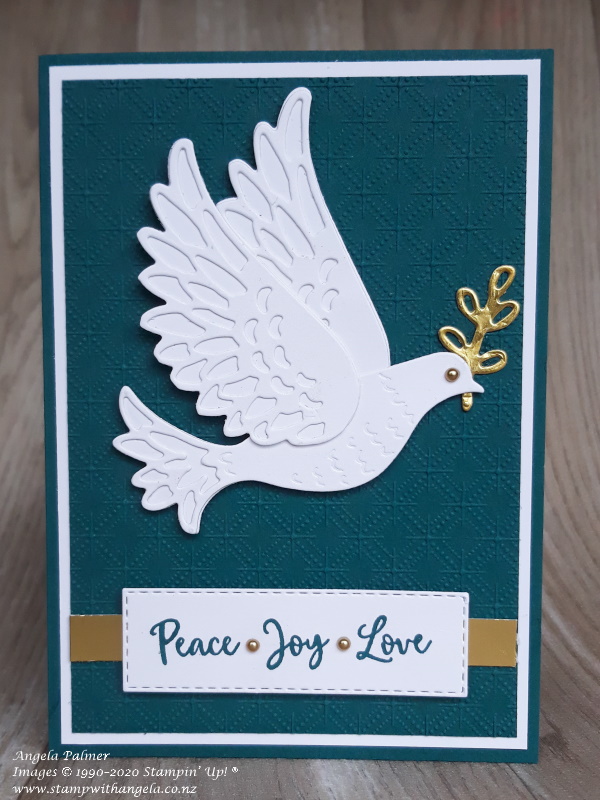
The Detailed Dove dies create a wonderful cut out dove image. However, when I first went to use them, I couldn’t quite work out how to make the two layered dove. An image of the dove is shown in the card below. In today’s Thursday’s Tip post and video, I will show you how to layer the Detailed Dove dies.

On Tuesday, I shared details about what I used to make the card above. If you haven’t already seen this post, you can check it out here. I cased this card from Judy May, but initially I couldn’t work out how to create the layered tail.
It was obvious that the two wing die shapes fitted together, but there was only one die with the body part of the dove. I could see a small tail die, but that had holes in it, so I was still wondering how to create the full background piece behind the holes. After looking at the small tail die carefully, I discovered that although the die had holes in it, they didn’t cut anything. The cutting blade of the die was only around the edge of the die, so this was the piece I needed to use. I think that the bigger holes are there to help you poke the piece out of the die once it is cut.
Check out my video below to see how to use and layer the Detailed Dove dies.
If you would like to purchase any of the products I have used, and you don’t already have a Stampin’ Up! Demonstrator, I would love to be your Demonstrator. You can either order online through my online store, or email me directly. Feel free to contact me if you have any questions.
I hope you have found this video useful and that it has helped you learn how to use the Detailed Dove dies.
