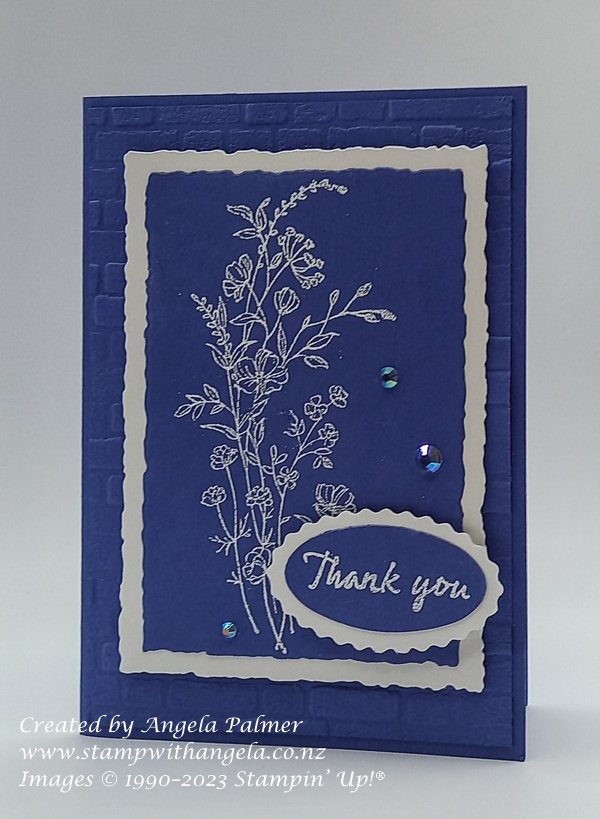
Learning how to heat emboss was one of the first techniques I learned when I started card making. I still love doing it today. It is wonderful to watch the embossing powder change from dull to shiny, making the sentiment or image stand out. Here is a card I made which I heat embossed with white embossing powder.

What do you need to heat emboss?
- Embossing Buddy – not totally necessary, but you will get a more successful embossed image if you use one. The Embossing Buddy is part of the Embossing Additions Kit.
- VersaMark ink.
- Embossing Powder in a colour of your choice, such as the Basics Embossing Powders, which include clear, white and black, or the Metallics Embossing Powders, which includes gold, silver and copper.
- A piece of paper or the Embossing Additions Kit, so any excess powder goes on/into it and you can pour it back into the container.
- Heat Tool (Please note: A hair dryer does not work as it is too powerful and it blows the powder away).
- A stamp to use that you would like to heat emboss the image of.
- Optional – A small paint brush to brush away any excess powder
- Optional – Tweezers – If you have a small piece to emboss, it holds it so your hands are further away from the heat so that you don’t burn your hands.
What are the steps of heat embossing?
- Rub the cardstock with the Embossing Buddy to remove any static.
- Stamp your image/sentiment with VersaMark ink.
- Sprinkle on some embossing powder*.
- Remove the excess. Tip it off, then gently flick the back of the card to remove any extra, and/or use a small paint brush to remove any in places you don’t want it.
- Use a Heat Tool to gently heat the embossing powder so it melts and sets.
- Don’t touch it too soon as it may smudge as it is hot and soft and not quite set yet.
*Once you have stamped your image with VersaMark ink, you need to work quickly to sprinkle on the embossing powder, otherwise the ink will dry and the embossing powder won’t stick.
Embossing powder comes in a range of colours. Stampin’ Up! has a basics range which is clear, white and black. It also has a metallics range which is gold, silver and copper.
Here is a video showing you how to heat emboss and make the card shown above:
If you would like to know what supplies were used, click here.
If you would like to purchase any of the supplies used in the heat embossing technique, or to make the card, you can order through my online store, or you can contact me with your order.
The heat emboss technique is one of my favourites and I hope you have fun with it too!
